How to Clean a Sticky Laptop Keyboard Without Removing Keys
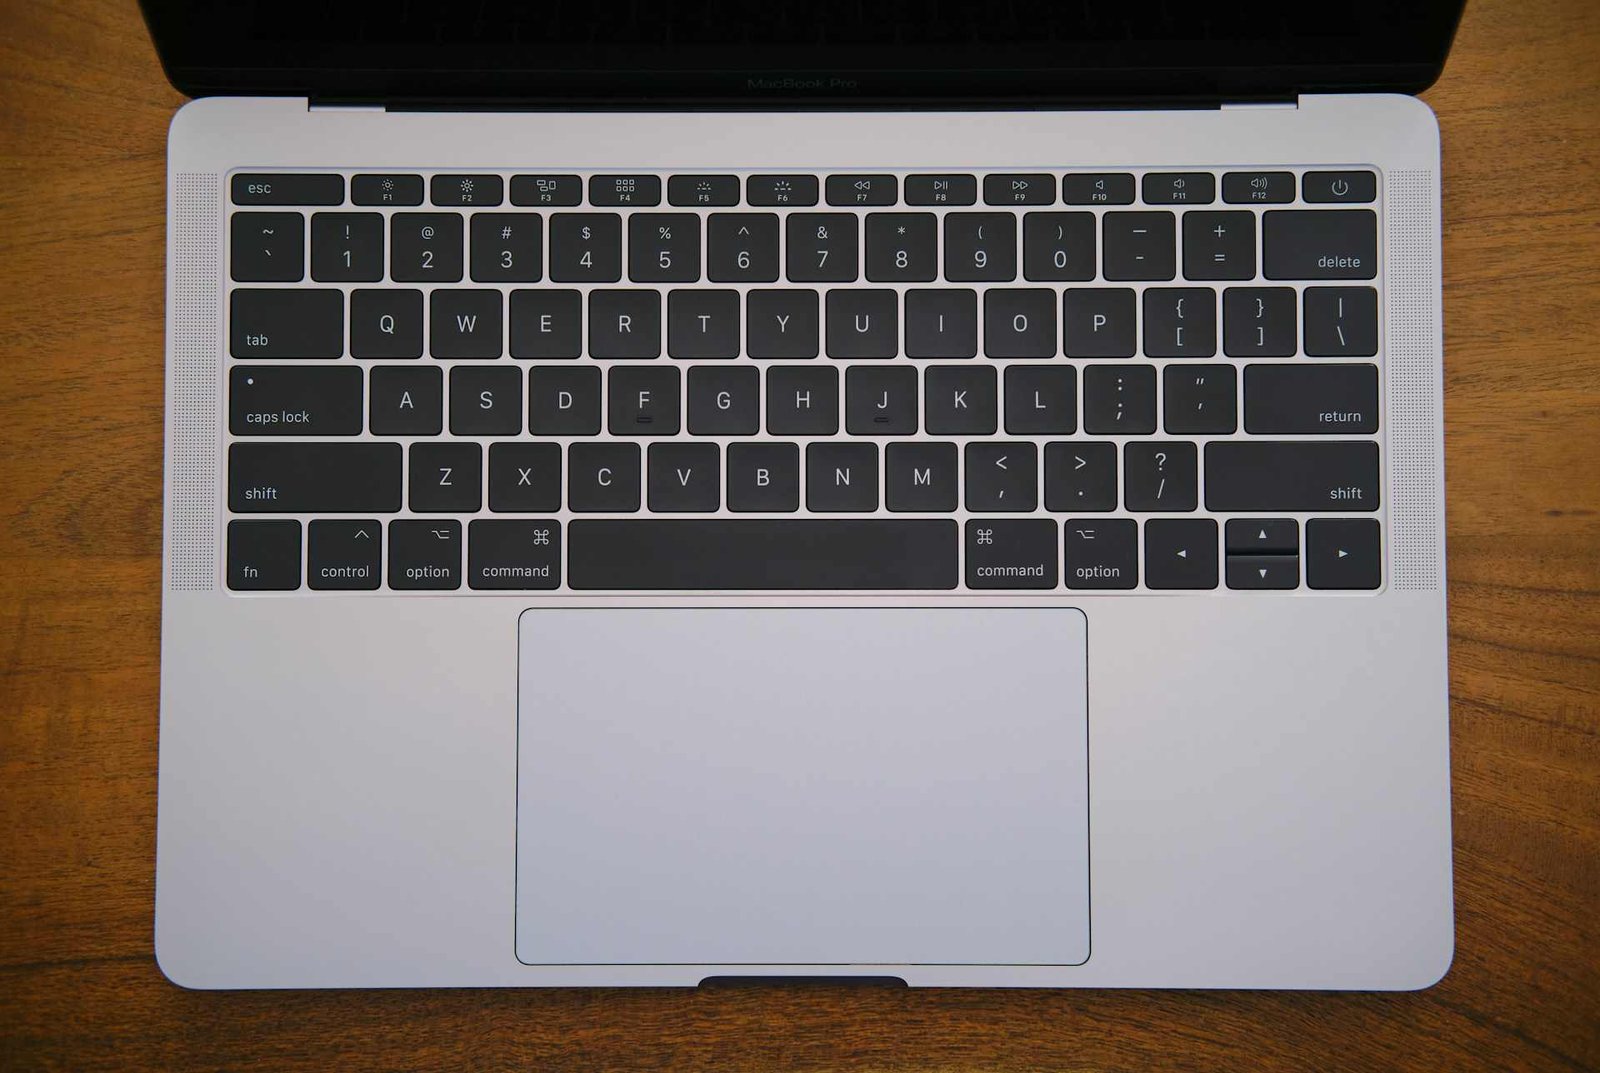
There’s nothing quite like settling into a productive work session, fingers poised over your keyboard, only to find that your space bar feels like it’s been glued down with honey. Or maybe your ‘E’ key requires the force of a thousand suns to register a single letter. We’ve all been there, staring at our laptops with a mixture of frustration and mild disgust, wondering how things got this bad.
The good news? You don’t need to be a tech wizard or dismantle your entire keyboard to fix sticky keys on your laptop. In fact, removing keys can sometimes do more harm than good, especially with modern laptop designs where keys are often secured with delicate mechanisms that weren’t meant to be popped off repeatedly. Let’s talk about how to tackle this sticky situation without turning your laptop into an expensive paperweight.
Why Your Keyboard Got Sticky in the First Place
Before we jump into solutions, it helps to understand what you’re up against. Keyboard stickiness rarely happens overnight unless you’ve had a truly spectacular coffee incident. More often, it’s the result of everyday life sneaking into the crevices of your keyboard.
Dust and debris are the usual suspects. Every time you work, tiny particles of skin, hair, and whatever else is floating around your workspace settle between your keys. Add a few crumbs from that sandwich you definitely weren’t supposed to eat over your laptop, and you’ve created the perfect environment for keys to start misbehaving.
Then there’s the invisible culprit: oil from your fingers. Even clean hands leave behind a thin film that accumulates over time. Mix that with a bit of humidity or the occasional splash of liquid, and you’ve got yourself a recipe for sticky keys that feel like they’re moving through molasses.
What You’ll Need for the Job
The beauty of cleaning a sticky keyboard on a laptop without removing keys is that you probably already have everything you need at home. No fancy equipment required, just a few household items that work surprisingly well together.
Here’s your cleaning arsenal:
Isopropyl alcohol (70% or higher) is your best friend here. It evaporates quickly, doesn’t leave residue, and cuts through grime like nobody’s business. Water can work in a pinch, but alcohol is superior for electronics since it won’t cause corrosion.
Microfiber cloths are gentler than paper towels and won’t leave lint behind. You’ll want at least two: one for applying cleaning solution and one for drying.
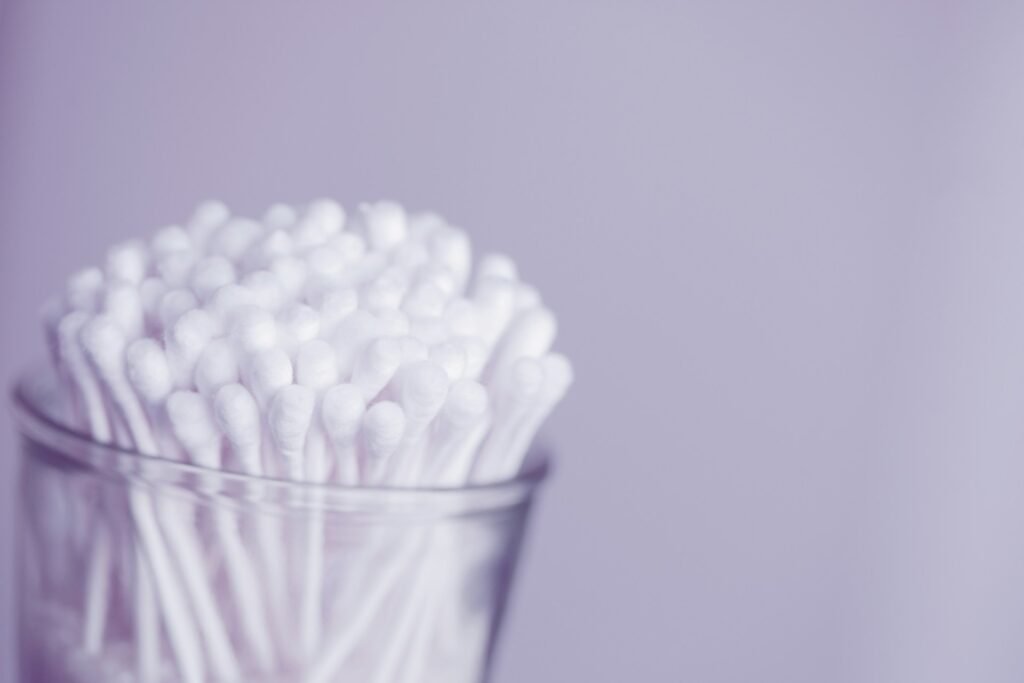
Cotton swabs let you get into those tight spaces around each key where gunk loves to hide. The pointed cosmetic swabs work even better if you have them.
Compressed air is optional but incredibly helpful for dislodging debris before you start wiping. Just make sure you’re using it correctly, which we’ll cover in a moment.
A small soft brush (like a clean makeup brush or paintbrush) can sweep away loose particles without pushing them deeper into the keyboard.
For the truly stubborn cases, a few toothpicks wrapped in a tiny piece of cloth can help you carefully work cleaning solution into problem areas. Just be gentle, you’re cleaning, not excavating.
The Step-by-Step Cleaning Process
Now that you’re armed and ready, let’s walk through how to clean sticky laptop keys without causing any damage. The key here (pun absolutely intended) is patience. Rushing through this process is how keyboards end up worse than when you started.
Preparation Makes Perfect
First things first: shut down your laptop completely. Not sleep mode, not hibernation, actually power it down. This prevents any accidental inputs while you’re working and eliminates the risk of short circuits if any liquid seeps in.
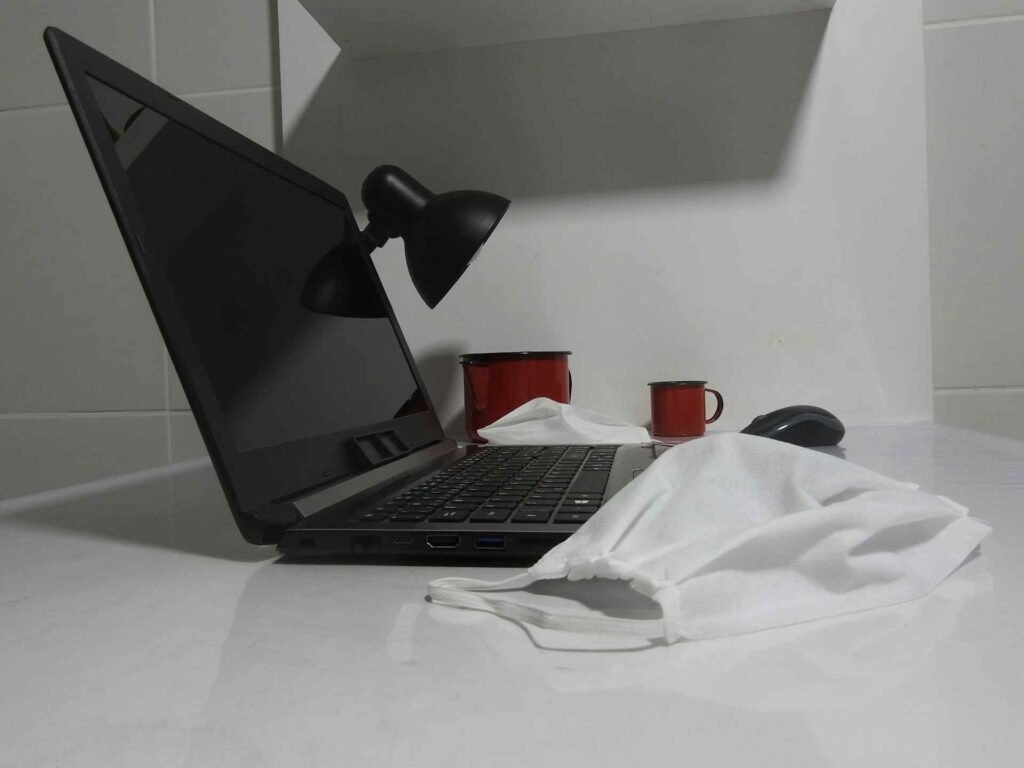
Unplug your laptop and remove the battery if possible. Most modern laptops have sealed batteries, so don’t force anything. The goal is just to make sure there’s no power running through the device while you clean.
Position your laptop on a clean, flat surface with good lighting. You’d be surprised how much easier this becomes when you can actually see what you’re doing. Tilt the screen back so the keyboard is at a comfortable angle.
The Dry Clean First
Start by turning your laptop upside down and giving it a gentle shake over a trash can. You might be horrified by how much stuff falls out. That’s normal. That’s also why your keys were sticking.
If you have compressed air, now’s the time to use it. Hold the can upright (tilting it can cause liquid propellant to spray out) and use short bursts aimed at the keyboard at a 75-degree angle. Work systematically from one side to the other, paying extra attention to the areas around sticky keys.
Here’s a pro tip: don’t hold the can too close. About six inches away is perfect. Too close and you risk blowing debris further into the keyboard or damaging delicate components with the force of the air.
Use your soft brush to sweep across the keyboard surface, working any stubborn particles toward the edges where they can fall away. This gentle approach is much safer than aggressive scrubbing.
The Wet Clean Where Magic Happens
Now for the main event. Dampen (not soak) a microfiber cloth with isopropyl alcohol. The cloth should be wet enough to clean effectively but not so wet that liquid drips into the keyboard. When in doubt, squeeze out excess liquid.
Wipe down the entire keyboard surface, paying special attention to the sticky keys. Use a firm but gentle circular motion around each key. You’re not trying to polish them to a mirror shine; you’re dissolving and lifting away the grime.
For the spaces between keys, wrap a cotton swab in a small piece of microfiber cloth and dampen it with alcohol. Carefully work around the edges of each sticky key, getting into those tiny gaps where debris accumulates. You’ll probably be shocked by how much gunk comes off.
If a key is particularly stubborn, dampen another cotton swab with alcohol and gently work it under the edges of the key without prying it up. Let the alcohol do the work, it will seep into the mechanism and help dissolve whatever’s causing the stickiness. Press the key several times while the alcohol is working its way in; this helps distribute the cleaning solution and work it into the mechanism.
For really persistent sticky spots, you can use a toothpick wrapped in a tiny piece of cloth dampened with alcohol. This gives you precision control to work cleaning solution exactly where you need it. Just be incredibly gentle, you’re cleaning, not performing keyboard surgery.
The Drying and Testing Phase
Once you’ve cleaned all the problem areas, use your dry microfiber cloth to wipe down the entire keyboard. You want to remove any remaining moisture and cleaning solution residue.
Let your laptop sit open in a well-ventilated area for at least 30 minutes before powering it back on. This gives any residual moisture time to evaporate completely. If you used a lot of liquid (you shouldn’t have, but accidents happen), wait longer, a couple of hours won’t hurt.
When you finally power up your laptop, test every key, especially the ones that were sticky. They should feel noticeably better. If a key is still sticking, you might need to repeat the process or let more cleaning solution work its way into the mechanism.
Comparing Your Cleaning Options
Not all cleaning methods are created equal, and what works for one situation might be overkill for another. Here’s a breakdown to help you choose the right approach:
| Method | Best For | Time Required | Risk Level | Effectiveness |
|---|---|---|---|---|
| Compressed air only | Light dust, preventive maintenance | 5 minutes | Very low | Good for prevention |
| Alcohol wipe down | Surface grime, finger oils | 15 minutes | Low | Excellent for most cases |
| Deep clean with swabs | Sticky individual keys | 30-45 minutes | Low-medium | Very high |
| Professional keyboard cleaning kit | Severe buildup, expensive laptops | 45-60 minutes | Medium | Highest quality |
| Keyboard covers (prevention) | Ongoing protection | – | Very low | Excellent prevention |
The alcohol wipe down combined with cotton swab detail work hits the sweet spot for most sticky keyboard situations. It’s thorough enough to address real problems but gentle enough that you won’t damage anything.
What About Those Keyboard Cleaning Gels?
You’ve probably seen those colorful cleaning gels advertised all over social media. They look satisfying in videos, and yes, they can work for picking up dust and loose debris. But here’s the thing: they’re not great for actually fixing sticky keys.
These gels (sometimes called keyboard cleaning putty) are essentially fancy dust magnets. They’ll grab surface-level particles, but they won’t dissolve the oils and sticky residues that are actually causing your keys to stick. They’re more of a maintenance tool than a problem solver.
If you do use cleaning gel, make sure it’s a reputable brand designed specifically for electronics. The cheap knockoffs can leave residue behind that makes your sticky keyboard problem even worse. Never press the gel down hard enough that it gets under the keys, extracting it from there is a nightmare you don’t want to experience.
Think of keyboard cleaning gel like one of those lint rollers for electronics, useful for quick touch-ups between deep cleans, but not a replacement for actual cleaning.
Special Considerations for Different Laptop Types
Not all laptops are built the same, and some require a bit of extra care when cleaning. Let’s talk about a few special cases.
MacBook keyboards, particularly those with the controversial butterfly mechanism (2015-2019 models), are notoriously finicky. These keyboards have very little clearance beneath the keys, so even a tiny particle can cause problems. The good news is that cleaning them without removing keys is actually safer than trying to pop keys off. If you’re dealing with one of these models and the cleaning doesn’t help, you might need to consider having Apple service it under their keyboard service program.

Gaming laptops often have more clearance than standard laptop keyboards. These are generally more forgiving and easier to clean, but they can also accumulate more debris in that extra space. The same cleaning methods apply, but you might need to be more thorough with the compressed air phase.
2-in-1 convertible laptops with keyboards that fold all the way back need extra attention. When these keyboards are folded under the screen, they can pick up debris from whatever surface you’re setting them on. Regular cleaning is especially important for these models.
Backlit keyboards require a gentler touch around the keys to avoid damaging the LED lighting or light guides. The alcohol cleaning method works fine, but skip any abrasive scrubbing that might scratch the translucent plastic around the keys.
When Cleaning Isn’t Enough
Sometimes, despite your best cleaning efforts, a key just won’t cooperate. Before you panic, let’s talk about when a sticky key is actually a mechanical problem rather than a cleaning problem.
If you’ve thoroughly cleaned a key and it still sticks, press it repeatedly while applying slight side-to-side pressure. Sometimes the key mechanism itself is slightly misaligned, and this can help reseat it. You’re not forcing anything, just gentle, patient pressure.
Test whether the key is registering at all. Open a text document and press the problem key. If it’s not registering inputs even though it’s physically moving, the issue might be with the membrane or connection underneath, not stickiness.
Listen to the key. A normal key makes a consistent clicking sound. A mechanically damaged key might sound different, maybe a rattle, a crunch, or no sound at all. This is a clue that cleaning won’t fix the problem.
If the key was exposed to a significant liquid spill, especially something sugary like soda, the damage might go deeper than surface cleaning can address. In these cases, you’re looking at either a professional cleaning where they remove and clean the entire keyboard assembly, or potentially replacing the keyboard altogether.
For laptops still under warranty, persistent sticky keys are often covered. Check your warranty terms before attempting any repairs beyond basic cleaning.
Maintaining a Clean Keyboard
Once you’ve gone through the effort to clean sticky keys on your laptop, you probably don’t want to do it again anytime soon. A little prevention goes a long way.
The simplest habit? Don’t eat over your keyboard. We know, we know, sometimes you’re on a deadline and lunch happens at your desk. At least use a plate and be mindful of crumbs. Your future self will thank you.
Silicone keyboard covers are controversial in the productivity world. They definitely keep your keyboard cleaner, but some people find they affect the typing experience. They can also trap heat on laptops that use the keyboard area for cooling. If you go this route, make sure you get one specifically designed for your laptop model, universal covers rarely fit well.
A quick wipe-down with a microfiber cloth once a week takes about 30 seconds and prevents buildup. Make it part of your routine, like wiping down your workspace or organizing your desk setup.
Keep a small electronics cleaning kit nearby with a microfiber cloth and some compressed air. When you notice a key starting to feel less responsive, you can address it immediately before it becomes a real problem.
Consider the environment around your laptop too. If you’re working in a particularly dusty environment, you might need to clean more frequently. Some people keep their laptops elevated on laptop stands with cooling features that also help keep dust from settling directly on the keyboard.
Hand washing makes a bigger difference than you’d think. Clean hands mean less oil transfer to your keys, which means less grime accumulation over time. It’s basic, but it works.
The Role of Your Workspace Setup
Your physical workspace has a surprising impact on how quickly your keyboard gets dirty and sticky. Taking a holistic approach to your desk setup can reduce how often you need to fix a sticky key on your laptop.
Proper lighting helps you notice buildup before it becomes a serious problem. When you can actually see the dust accumulating, you’re more likely to address it promptly. A well-positioned adjustable LED desk lamp makes keyboard maintenance easier by letting you see exactly what you’re doing.
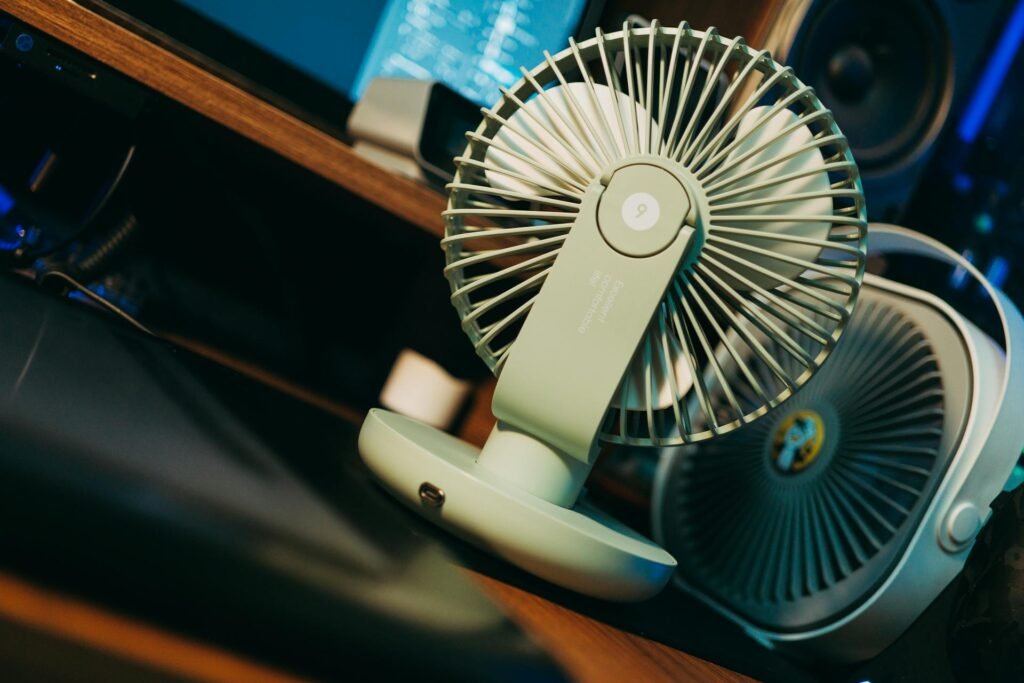
Air circulation matters more than you might think. Stagnant air means dust settles on every surface, including your keyboard. A small desk fan or better room ventilation keeps particles moving so they’re less likely to accumulate in the first place. Some people use USB-powered desk fans that plug directly into their laptops, creating gentle airflow across the keyboard.
Workspace organization plays a role too. When your desk is cluttered, debris has more opportunities to find its way to your keyboard. Keeping food, drinks, and loose papers away from your immediate typing area creates a cleaner environment. If you need to charge multiple devices, consider a dedicated USB charging station that keeps cables organized and away from your keyboard area.
The height and angle of your laptop affects how much debris falls directly onto the keyboard. Using a laptop stand not only improves ergonomics but also positions the keyboard at an angle where crumbs and dust are less likely to settle between keys. For those who prefer to work standing sometimes, knowing whether you should avoid using a standing desk all day can help you plan your setup better.
Some people find that using an external keyboard and mouse keeps their laptop keyboard cleaner since they’re not constantly touching it. This has the added benefit of better ergonomics. However, this approach doesn’t work for everyone, especially those who need laptop portability.
Common Mistakes That Make Things Worse
In the quest to clean sticky laptop keys, well-meaning attempts can sometimes backfire. Let’s talk about what NOT to do.
The biggest mistake? Using too much liquid. Laptop keyboards are not waterproof, and excess liquid can seep under the keys into the electronics below. When we say “dampen” the cloth, we mean it should feel barely wet. If you can squeeze liquid out of it, it’s too wet.
Never spray cleaning solution directly onto your keyboard. Always apply it to your cloth first. Direct spraying inevitably leads to liquid pooling between keys and dripping into the laptop’s internals. This is how “I was just cleaning my keyboard” turns into “I need a new laptop.”
Aggressive scrubbing is another common error. Your keyboard is not a dirty pan that needs scouring. Gentle, patient cleaning is always more effective than forceful rubbing. If something isn’t coming off easily, the solution is more cleaning solution and more time, not more pressure.
Some people try to use household cleaners like Windex or all-purpose cleaner on their keyboards. Don’t. These often contain ingredients that can damage plastic, remove key legends (the letters printed on keys), or leave residue that attracts more dirt. Stick with isopropyl alcohol or electronics-specific cleaners.
Using a vacuum cleaner on your keyboard sounds logical but can generate static electricity that damages electronics. It can also create enough suction to pull keys off, especially on laptop keyboards where keys aren’t designed to be removed. Compressed air is safer and more effective.
Rushing the drying process is tempting when you need your laptop back immediately, but patience pays off here. Turning on your laptop while any moisture remains inside can cause short circuits. If you’re in a huge hurry, position a fan to blow across the keyboard to speed evaporation, but don’t use heat sources like hair dryers, the hot air can warp plastic components.
FAQ
How often should I clean my laptop keyboard to prevent sticky keys?
For regular maintenance, a quick wipe-down with a microfiber cloth once a week keeps most keyboards happy. A deeper clean with alcohol and cotton swabs every month or two should prevent stickiness from developing. If you eat at your desk frequently or work in a dusty environment, bump that up to every couple of weeks. The key is catching buildup before it becomes a problem rather than waiting until keys actually stick.
Can I use water instead of isopropyl alcohol to clean my keyboard?
You can, but alcohol is better for several reasons. It evaporates much faster than water, reducing the risk of liquid damage. Alcohol also cuts through oils and grime more effectively, and it doesn’t leave water spots or residue. If you must use water, make absolutely sure your cloth is barely damp and allow extra drying time. Distilled water is better than tap water if you go this route, as it won’t leave mineral deposits.
What should I do if a key is still sticky after cleaning?
First, repeat the cleaning process with extra attention to that specific key. Sometimes stubborn grime needs multiple treatments. If cleaning doesn’t help, test whether the key is registering inputs properly. A key that feels sticky but works normally might just need to “wear in” as you use it. If it’s not registering or feels mechanically wrong, the issue might be a damaged key mechanism rather than dirt, which may require professional repair.
Is it safe to remove laptop keys for cleaning?
Most laptop keys aren’t designed to be removed by users, unlike many desktop keyboard keys. Modern laptop keyboards often use delicate scissor or butterfly mechanisms that break easily if you try to pop keys off. Some keys, especially larger ones like the spacebar, have complex stabilizer mechanisms that are extremely difficult to reassemble. It’s almost always safer to clean around the keys rather than removing them unless you have experience with your specific laptop model.
Can compressed air damage my laptop keyboard?
When used correctly, compressed air is safe and effective. However, holding the can too close or at an angle that releases liquid propellant can cause problems. Always hold the can upright, keep it about six inches from the keyboard, and use short bursts rather than continuous spraying. Never shake the can right before use. If you follow these guidelines, compressed air is one of the safest cleaning tools available.
Why do some keys get sticky while others stay fine?
Frequently used keys like the spacebar, Enter, and common letters accumulate oil from your fingers faster than rarely used keys. Keys in certain positions also catch more debris, the spacebar is basically a dust shelf given its size and position. Some keys are used with more force, which can drive particles deeper into the mechanism. Finally, if you rest your fingers on certain keys (like F and J with their homing bumps), those keys get more sustained contact and oil transfer.
Can I fix sticky keys caused by a soda spill the same way?
Sugary drinks are trickier because the sugar acts like glue as it dries. You’ll need to use more cleaning solution to dissolve the sugar, and you’ll likely need to clean the affected areas multiple times. Work the alcohol thoroughly around the sticky keys and give it time to break down the sugar before wiping. For serious spills, you might need to do this process several times over a few days as sugar continues to dissolve.
Wrapping Up: Your Keyboard’s New Lease on Life
There you have it, a comprehensive approach to rescuing your keyboard from sticky doom without performing laptop surgery. The beauty of this method is that it works whether you spilled coffee last Tuesday or you’ve just been gradually accumulating three years’ worth of desk debris (no judgment, we’ve all been there).
The real secret isn’t any fancy technique or expensive product. It’s simply being willing to spend 20 minutes giving your keyboard the attention it deserves. Your laptop is your productivity partner, your entertainment portal, maybe even your side hustle enabler. It deserves better than to struggle through every keystroke because you’ve been putting off a simple cleaning.
And let’s be honest, there’s something deeply satisfying about pressing keys that respond cleanly after you’ve cleaned them. It’s like the typing equivalent of driving a freshly washed car. Everything feels a bit more professional, a bit more put-together, even if you’re still working in sweatpants.
Now if you’ll excuse us, we’re going to go eat lunch… definitely not over our laptops. Definitely not.
Looking for more? Check out our productivity tools category for more articles and guides that may interest you!
Featured image credit: Photo by Raul Perțe on Unsplash
This content is for informational purposes only. Please verify current information directly on the retailer’s site before purchasing.