How to Revive Dry Markers in Under a Minute

You reach for a marker to write something important on the whiteboard, map out a project, or let your kid color in peace for five whole minutes, and what comes out is a sad, wheezing ghost of what used to be a functional writing tool. Barely a trace. A whisper of ink. Gone.
Before you toss it, wait. Most markers are just dehydrated, displaced, or suffering from a pretty fixable ink-flow problem. Reviving dry markers costs essentially nothing and takes maybe three minutes out of your day.
Why Markers Dry Out in the First Place
Markers rely on a felt or foam reservoir soaked in ink, and that ink reaches the tip through capillary action, the same principle that pulls water up through a plant stem. When the cap is left off, the solvent in the ink evaporates from the tip first, leaving a dry, crusty nib that blocks the remaining ink from flowing through. In alcohol-based markers, this happens within minutes. Water-based ones are more forgiving, but they’ll get there eventually.
The reservoir itself often still holds ink. It’s usually just the tip that’s blocked or dried out. That distinction matters a lot for figuring out which revival method to use.
Different Methods That Work
Different marker types respond to different liquids. Using the wrong one can ruin the ink chemistry entirely, so let’s be specific.
Water-Based Markers: A Few Drops Go a Long Way
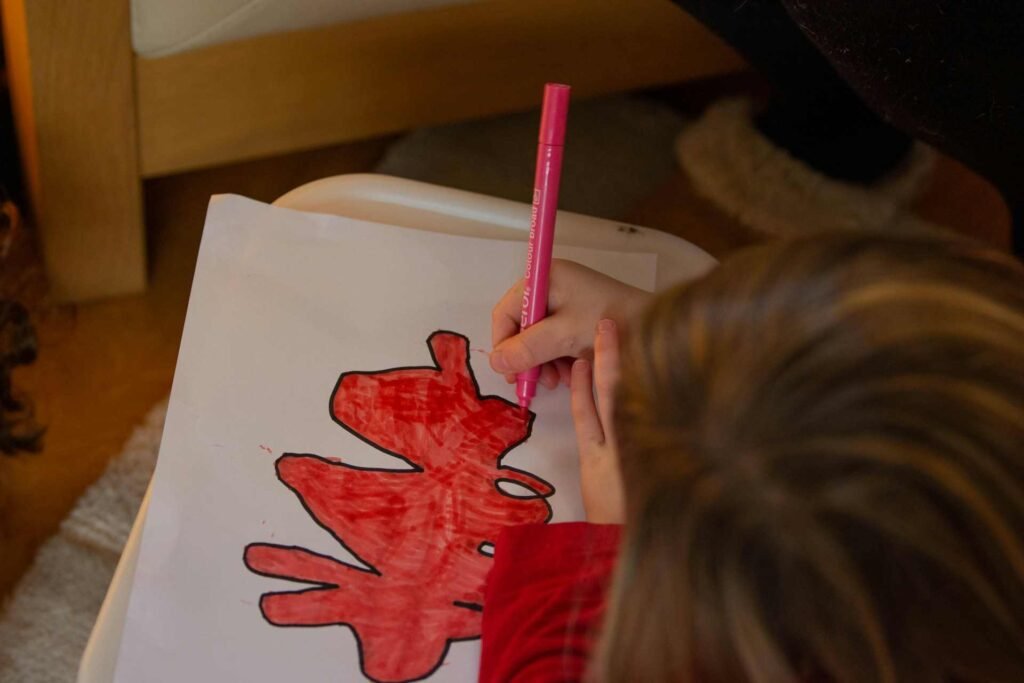
Water-based markers, the kind most commonly found in kids’ art sets, washable markers, and some whiteboard markers, dry out primarily because the water in their ink evaporates. The fix is simple.
Remove the cap from the back end of the marker (most have one) and use a dropper or a damp cotton swab to add 3 to 5 drops of clean water directly into the reservoir. Don’t drown it. Replace the back cap and let the marker sit horizontally for a few minutes so the water redistributes. Give it a test on paper. You’ll usually see a near-immediate improvement in flow.
If there’s no back cap, you can place the tip directly into a small cup of water for 30 to 60 seconds, then draw on scrap paper until the ink flows consistently. This works well for washable kids’ markers and basic felt tips.
Alcohol-Based Markers: Isopropyl is Your Friend
For alcohol-based markers, rubbing alcohol (isopropyl alcohol, ideally 70% to 91%) is the solvent you want. This includes most professional illustration markers, permanent markers, and some high-end art markers with refillable reservoirs.
Dip just the tip into a small amount of isopropyl alcohol for about 30 seconds. Alternatively, add 2 to 3 drops into the back of the marker if it’s accessible. The alcohol reactivates the dried pigment and gets it flowing again. Avoid using water here since it won’t mix with the alcohol-based ink and may cause the ink to separate or clump.
For a dried out permanent marker specifically, this method is your first and best move. Soak the tip in rubbing alcohol for a minute, blot it on a paper towel, and try writing. Most of the time, that’s all it takes.
Dry Erase Markers: A Slightly Trickier Case
Reviving a dry erase marker takes a slightly more specific approach because these use a special ink formula designed to stay on non-porous surfaces and wipe clean. Water and standard rubbing alcohol can both dilute the ink too aggressively and ruin its whiteboard-compatible chemistry.
The best option for a dried out dry erase marker is to use a dry erase marker solvent or a small amount of acetone-free nail polish remover on the tip. Another trick: rub the tip of a functioning dry erase marker against the dead one, which can transfer enough solvent to rehydrate the dried nib. If you work with whiteboards regularly, keeping a dedicated whiteboard marker refill kit on your desk is a smart move that sidesteps this issue entirely.

If you’re wondering how to fix a dry whiteboard marker that refuses to cooperate even after this, the issue might be the tip itself rather than the ink. More on that in a moment.
The Tip Replacement Method
Sometimes the felt or foam nib at the end of the marker is permanently compressed, frayed, or so dried out that no solvent is going to bring it back. The fix there is a nib swap rather than a refill.
Many professional and mid-range markers have replaceable nibs, and replacement nib sets are widely available online at a low cost. You pull the old nib out with pliers (protecting the nib with a paper towel so you don’t crush it further), and press the new one in. For markers with no replaceable nib, turning the tip around if it’s symmetrical can give you a fresh end.
Method Comparison by Marker Type
Here’s a fast reference so you’re not guessing at the grocery store or hunting through a dozen tabs:
| Marker Type | Best Revival Liquid | Time to Soak Tip | Notes |
|---|---|---|---|
| Water-based (kids’, washable) | Distilled water | 30–60 seconds | Add drops to reservoir if accessible |
| Alcohol-based (illustration, art) | Isopropyl alcohol 70–91% | 30–60 seconds | Never use water, it’ll separate the ink |
| Permanent markers | Isopropyl alcohol 70–91% | 1 minute | Soak tip or add drops from back cap |
| Dry erase / whiteboard markers | Dry erase solvent or acetone-free remover | 20–30 seconds | Avoid standard rubbing alcohol |
| Oil-based paint markers | Mineral spirits or paint thinner (small amount) | 15–30 seconds | Use in ventilated space |
Preventive Steps Worth Knowing
Reviving a dried out marker is satisfying, but preventing it from happening in the first place is even better. A few habits that can make a difference:
Store markers horizontally. Vertical storage with the cap down can push ink toward the tip, which sounds helpful but increases evaporation and flooding. Horizontal storage keeps the ink evenly distributed in the reservoir.
Replace caps immediately and press firmly. The cap needs to create an airtight seal. A cap that’s on loosely is almost as bad as no cap at all.
If you’re working in a dry climate or a heated office in winter, the evaporation rate is significantly faster than average, and you’ll want to be more diligent about caps. A dry workspace environment affects more than just markers, as it can contribute to static and wear on electronics too.
When a Marker Is Dead
Most markers come back with the right solvent. But some are just spent. You’ll know when: after soaking and attempting to draw, nothing comes out, the reservoir feels lightweight when you shake it, and the paper you’re testing on stays completely dry. At that point, the ink is simply gone.
Rather than buying single replacements constantly, refillable marker systems are worth the switch. Some marker brands sell ink refill bottles that work with their cartridge-based markers. You fill the reservoir yourself, swap the nib when it wears out, and the body of the marker lasts indefinitely. Over a year’s worth of use, this approach saves a meaningful amount of money and generates a lot less plastic waste.
FAQ
Wrapping Up
A dried out marker is not a write-off. With the right solvent, about a minute of your time, and a reasonable expectation that some markers are just past saving, you can rescue most of what would otherwise go straight to the trash. Match the solvent to the ink type, give it a moment, and let capillary action do the work.
If you’re burning through markers at a rate that makes revival feel like a second job, that’s a clear signal to switch to refillable systems.
Looking for more? Check out our productivity tools category for more articles and guides that may interest you!
Featured image credit: Photo by Mitchell Luo on Unsplash
This content is for informational purposes only. Please verify current information directly on the retailer’s site before purchasing.
References:
Centers for Disease Control and Prevention (2008). Chemical Disinfectants. https://www.cdc.gov/infection-control/hcp/disinfection-sterilization/chemical-disinfectants.html
Crayola. How can I revive dry Crayola Markers that accidentally were left with their caps off? https://www.crayola.com/faqs/how-can-i-revive-dry-crayola-markers-that-accidentally-were-left-with-their-caps-off-faq
Loddie Doddie (2024). How To Revive Dry Erase Markers. https://loddiedoddie.com/blogs/news/how-to-revive-dry-erase-markers
Last reviewed and edited on 23.03.2026